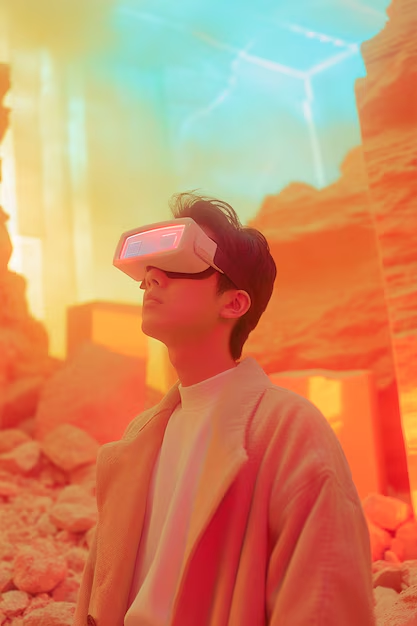
Introduction to Augmented Reality
Augmented Reality (AR) with Unity and Vuforia is transforming how digital content interacts with the real world, creating immersive and engaging experiences. A prime example of AR in practice is Pokémon GO, which merges digital objects with physical environments. This article delves into the fundamental principles of Augmented Reality with Unity and Vuforia, its real-world applications, and a structured guide on developing an AR application using these powerful tools.
Understanding Augmented Reality
AR enhances the perception of reality by overlaying digital elements, such as images, videos, and 3D objects, onto the physical world in real time. Unlike Virtual Reality (VR), which immerses users entirely in a simulated environment, AR enables dynamic interaction between physical and virtual components.
The Evolution of Augmented Reality
The foundation of AR can be traced back to the 1960s, when Ivan Sutherland pioneered the first head-mounted display system. However, substantial technological progress only materialized in the early 2000s, driven by advancements in mobile computing and real-time tracking. Today, AR is revolutionizing industries including gaming, healthcare, retail, and education by enhancing real-world experiences with interactive digital elements.
Key Applications of Augmented Reality
Gaming
-
AR-based games, such as Pokémon GO, integrate digital characters with real-world environments to create immersive experiences.
Retail
-
Virtual try-on technology allows customers to preview apparel, accessories, and beauty products through AR interfaces.
Education
-
AR facilitates interactive learning experiences, such as virtual anatomy simulations and historical reconstructions.
Healthcare
-
AR assists medical professionals by overlaying digital diagnostics and procedural guidance onto patients in real time, enhancing precision during surgeries.
Developing an AR Application with Unity and Vuforia
Step 1: Integrating Vuforia with Unity
Vuforia is a leading AR development framework for Unity, offering robust image and object tracking capabilities. Follow these steps for integration:
-
Install Vuforia: Download and integrate the Vuforia Engine SDK from the Unity Asset Store.
-
Enable Vuforia: Activate Vuforia within Player Settings in Unity.
Step 2: Generating a Vuforia License Key
A Vuforia license key is required to deploy AR applications. To create one:
-
Access the Vuforia Developer Portal and sign in or register.
-
Navigate to License Management and generate a new license key specific to your project.
Step 3: Setting Up a Vuforia Image Tracking Database
Image tracking allows AR applications to recognize and respond to real-world images. This method differs from object tracking or spatial mapping, which focus on 3D objects or environmental data. To configure image tracking:
-
Open Vuforia Developer Portal > Target Manager.
-
Create a new database and upload target images.
-
Download the processed database and import it into Unity.
Step 4: Configuring the AR Camera
-
In Unity, replace the default camera with the AR Camera from the Vuforia package.
-
Adjust parameters such as field of view, tracking sensitivity, and clipping planes for optimized performance.
Step 5: Importing Image Tracking Database into Unity
-
Import the downloaded Vuforia database into Unity.
-
Image targets will now be available for integration within the Unity scene.
Step 6: Integrating 3D Models, Videos, and Audio
To enhance AR interactivity, incorporate diverse media assets, including 3D models, videos, and audio files:
-
Import assets into Unity.
-
Adjust material render settings, lighting effects, and texture optimizations for optimal performance across different hardware configurations.
-
Attach assets as child objects to image targets in Unity, ensuring they appear when a target is detected.
Step 7: Synchronizing Assets with Image Targets
-
Assign 3D models, videos, or interactive UI elements to the image target in Unity.
-
Verify that the assigned digital content appears accurately upon image detection.
Step 8: Platform Configuration and Application Deployment
Selecting the Deployment Platform:
-
Open Build Settings in Unity.
-
Choose the desired platform (Android, iOS) and click Switch Platform.
Building an APK for Android Deployment:
-
Ensure Android is selected in Build Settings.
-
Modify Player Settings to enhance app performance and compatibility.
-
Click Build to generate an APK file, which can be installed on Android devices.


